Add an image
For resiliency from crashes, ease of adding new nodes, and ease of management, ClusterVisor holds images that can be deployed to or installed onto nodes, whether adding brand new nodes to the cluster, rolling out updated and tested OS's, pushing major system-level changes not managed by ClusterVisor, pushing a new disk layout, etc. This process can take some time to run as creating the image has many automated steps.
Command line
cv-provision image create-from-distro -d rocky-9.6 -i head -r head --root-passwordExample output from a successful run:
Starting base step 1 of 5 : Do the base OS software install
Running scriptlet: firewalld-1.3.4-9.el9_5.noarch (1/1)

Verifying: procps-ng-3.3.17-14.el9.x86_64 (1441/1441)

Starting repos step 2 of 5 : Add additional software repository
Verifying: epel-release-9-10.el9.noarch (1/1)

Starting addons step 3 of 5 : Install the rest of the software needed
Running scriptlet: java-11-openjdk-headless-1:11.0.25.0.9-7.el9.x86_64 (1/1)

Verifying: dbus-tools-1:1.12.20-8.el9.x86_64 (135/135)

Starting post step 4 of 5 : Perform post install configuration
Starting permissions step 5 of 5 : Verifying RPM permissions
Installing and bootstrapping cv-client into the image
Running package updates from the internet, this may take a while
Running scriptlet: linux-firmware-20250604-151.2.el9_6.noarch (1/1)

Verifying: libblockdev-mdraid-2.28-13.el9_6.x86_64 (240/240)
Note: The package names may differ, but each stage should be verified and complete.
Graphical web
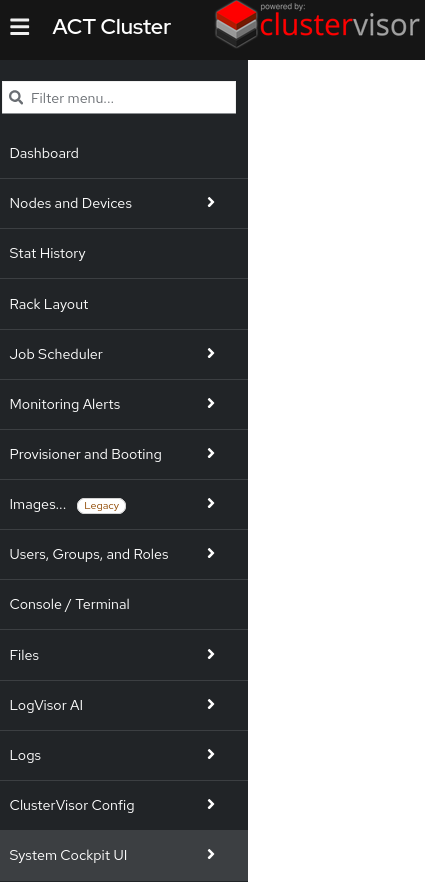
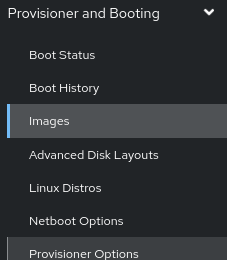
In the menu, select “Provisioner and Booting”
Then select Images
There are three options for creating an image:
New image from distro - This requires a distro to be uploaded. See Add a distro .
Capture new image from node - This requires an existing node from which to pull an image.
Import image from cloner - To import a cloner image from a pre-2.x ClusterVisor install.

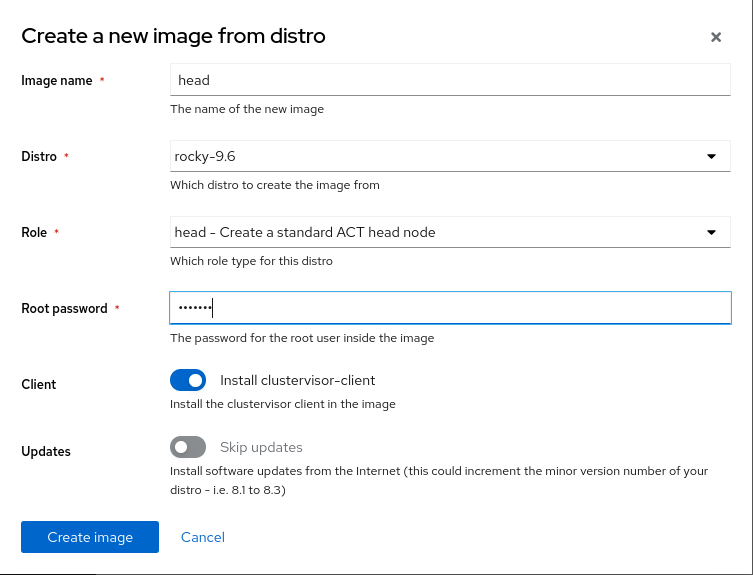
New image from distro
To create a new image from distro:
A new image name must be given
Select a distro that has already been created
See Add a distro if the required Linux distro has not yet been downloaded
Select a role for the node from the dropdown options
Set a default password
Ensure the Client toggle is enabled to install the ClusterVisor client
Optionally run updates
This can take a lot of time and may update the distro’s version to the latest
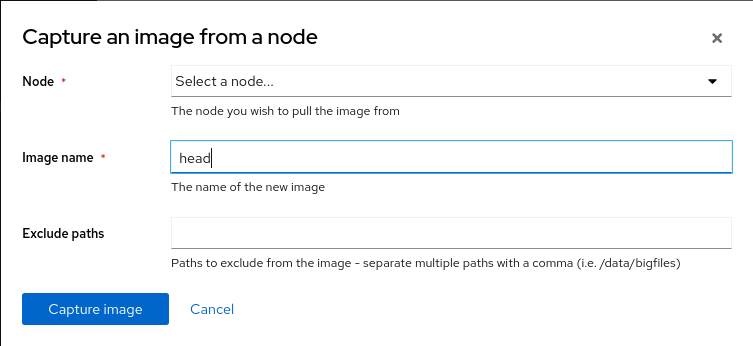
Capture new image from node
Node images can be created based off of nodes that are online.
To capture a new image from a node:
Select the node (must already be active and online)
Specify an image name
List any paths that should not be included (i.e., data directories such as “/home,/data,”).
Import image from cloner
If your appliance has been upgraded from 1.x, your node images from that version will have been created using the legacy tool, Cloner. To import images from Cloner, Cloner images must be in the proper path (particularly if 1.x install was moved to a new appliance on 2.x).
Select the Cloner image
Provide an image name
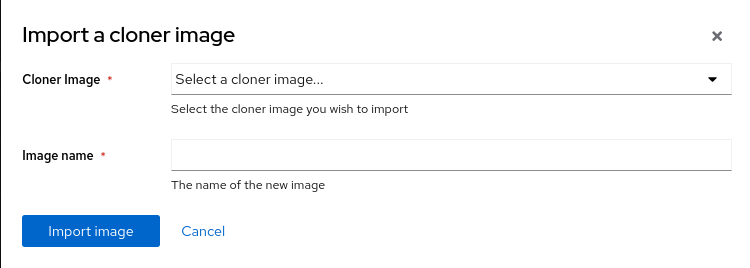
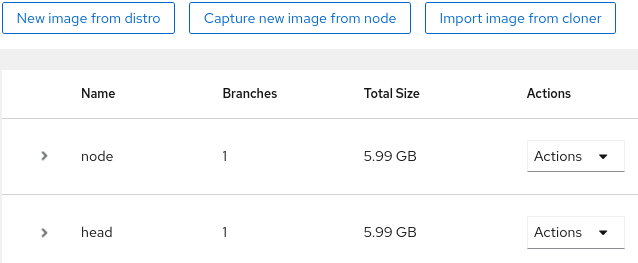
Image List
Successfully added images will then appear on the Images landing page